Get in touch
T: (866) 500-5706
E: info@creatium.ca

Step-by-step FLOODSTOP barrier assembly

STEP 1

Inspect ground conditions and clear any debris
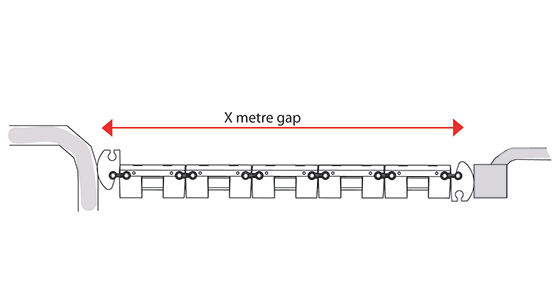
STEP 2

Position FLOODSTOP pods in linear position for the chosen barrier length

STEP 3

Fully insert connection keys

STEP 4

Apply the required curvature to the barrier

STEP 5

Pre-fill at least 1 of every 3rd unit with water ballast. Rest of the units automatically fill with the rising flood waters.

Wall Connections and Disbandment

Connecting the Floodstop barrier to a wall using a Multi-hub:

  • Connect the Multi-hub pod to end of the assembled FLOODSTOP flood barrier
  • Rotate the 'cam-like' pod into the in-situ object (typically a wall). May need to wedge unit
  • Fill the pod with water ballast

Disbanding the Floodstop flood barrier:

  • Remove universal keys
  • Drain water from pre-filled units by tipping the units over carefully (FS24 system) or by unscrewing the water-release caps (FS36 system)
  • Pack the system away

Important Assembly Notes

All of our flood barrier systems work to a height of approximately 70-80%. A freeboard is required when in use.

If the wall or ground surface is not adequately flat (i.e. where Floodstop’s foam gaskets are in contact) the seepage rate may vary - it is recommended to have a small pump on hand to pump away excessive leakage if required.

The system is not recommended for use on gravel.


Get a Quote & Free Deployment Plan

To get a quotation and deployment plan showing how Floodstop would be arranged at your location please contact us with the measurement(s) of the opening, delivery postcode and any photos you may have to hand.

Let us help you protect your home from flooding...

Customers Include

(866) 500-5706